
Crafting Chili Powder Without a Machine: 3 Reliable Drying Methods
Transform your fresh pepper harvest into shelf-stable spices using your oven, air fryer, or simply the air in your kitchen, with zero specialized equipment required.
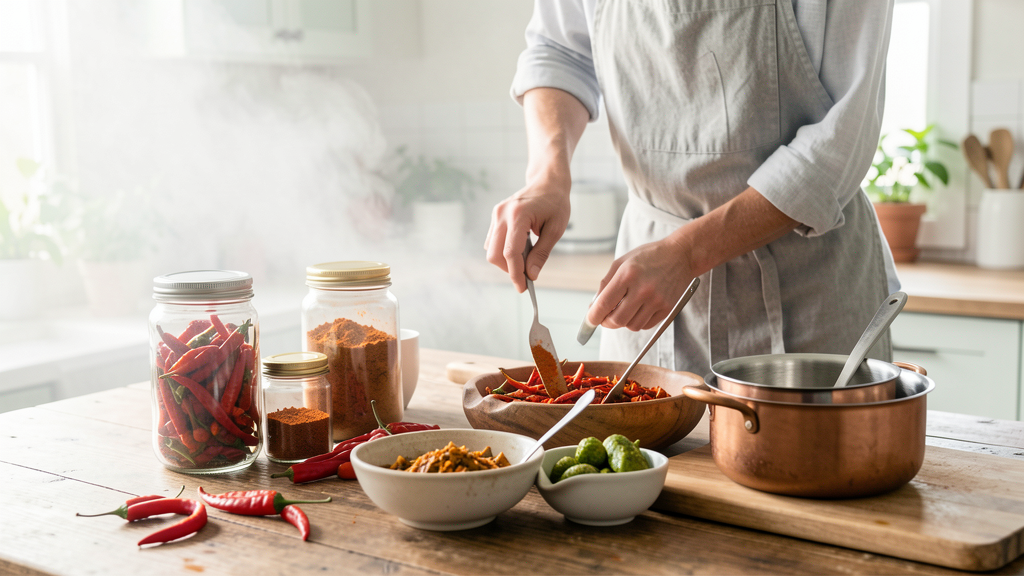
The 2026 harvest season has been unusually generous for heat seekers, particularly if you are growing varieties like Cayenne, Thai Bird's Eye, or even the smaller Apache chilies. My kitchen counter is currently buried under about three pounds of fresh red pods. While fermentation is my first love, sometimes you need the concentrated, dusty punch of a chili powder or the texture of a crunchy flake rather than the tangy funk of a ferment. The problem is, not everyone wants to dedicate counter space to a bulky Excalibur dehydrator, and certainly, no one wants to buy one just for a single afternoon's work.
You can achieve professional-grade results using tools you already own. The goal is to reduce the water activity to a level where bacteria cannot survive—specifically below 0.6—without cooking the pepper. If you cook the fruit, you caramelize the sugars, which is lovely for smoked paprika but ruins the sharp, clean heat needed for a standard chili powder.
Here is how to process that heap of fresh peppers into durable flavor bombs using three distinct approaches.
The Classic Ristra Method: Air Drying Thin-Skinned Varieties
Air drying is the most energy-efficient method, but it is also the most selective. You cannot throw a thick-walled Jalapeño or a fleshy Poblano on a string and expect it to dry before it rots. This method is strictly reserved for pods with thin flesh and low moisture content.
I rely on this method specifically for Thai chilies and small Cayennes. The key variable is airflow. Hanging peppers in a stagnant, humid corner of your kitchen is a recipe for mold, which poses a significant safety risk. You need a location that is warm, dry, and has moving air—near a window that gets a gentle cross-breeze or above a radiator (though not touching it) is ideal.
To do this effectively, take a sharp needle and thread it with unwaxed dental floss or strong cotton twine. Push the needle through the green cap (the calyx) of the pepper, not the flesh itself. Pierce through the stem to keep the pod intact; if you puncture the skin, you invite rot. Space them about an inch apart to ensure air circulates between each pod.
Depending on your humidity levels, this process takes anywhere from one to three weeks. You will know they are done when they are brittle to the touch and make a distinct cracking sound when you bend them. If they still bend like leather, the moisture content is too high for safe storage, and they will mold in the jar.
Can Your Oven Really Replace a Dehydrator?
The oven is the most accessible tool for the majority of home cooks, but it comes with a major trade-off: energy efficiency and precision. Most standard kitchen ovens cannot set a temperature low enough to be considered true "dehydrating," which usually happens between 95°F and 135°F (35°C to 57°C). However, we can hack this.
If you want to make a classic chili powder, set your oven to its lowest possible setting—usually around 170°F or 200°F. Prop the door open with a wooden spoon. This step is non-negotiable. If you close the door, the heat will build up, steam the peppers, and cook them. By leaving the door ajar, you allow moisture to escape, which is the entire mechanism of dehydration.
Arrange your washed and dried peppers on a cooling rack set over a baking sheet. Using a rack rather than a flat pan allows air to move underneath the fruit, preventing soggy spots. I recommend checking them every hour. The drying time will likely be between 3 to 6 hours depending on the size of the peppers.
The one downside here is the volatility of capsaicin. As the peppers heat up, the oils become airborne. If you are drying Habaneros or Ghost Peppers, your kitchen will essentially become a gas chamber. Ventilation is critical for your comfort, not just the preservation of the food.
The Air Fryer: A Modern Solution for Small Batches
In 2026, the air fryer has cemented its place as a viable tool for preservation work. Because an air fryer is essentially a small, powerful convection oven with a heating element very close to the food, it excels at driving moisture out of peppers quickly. However, this method requires the most vigilance to prevent scorching.
This method is perfect for making "chili threads" or quickly drying smaller amounts of Serranos or De Arbol for flakes. Set your air fryer to 180°F. If your model lacks a precise low setting, use the "Keep Warm" function if available, or keep the time short.
You must toss the basket every 15 to 20 minutes. Because the heating element is so aggressive in these devices, the peppers closest to the coil will dry faster than those at the bottom. You are looking for a texture that is crumbly, not charred. If you smell a roasting, toasty aroma, you are venturing into making "chili oil" territory rather than dried powder.
While I typically prefer roasting peppers before freezing for stews, the air fryer creates a different product. It preserves the raw, acidic bite of the pepper because the process is relatively quick compared to an oven cycle that lasts all afternoon.
Recognizing the Danger Zone: When to Toss Your Batch
Regardless of the method you choose, safety is paramount. We are dealing with low-acid vegetables where the preservation method relies entirely on the removal of water. If water remains, pathogens like mold or bacteria can thrive.
If you notice any black or grey fuzz on the peppers during the drying process, discard the entire batch immediately. Do not try to cut off the bad spot. The mycelium roots of mold run deep into the flesh, and consuming them can cause serious respiratory or gastric distress.
Furthermore, once you believe the peppers are dry, the "conditioning" phase is a smart habit. Place your cooled, dried peppers into a glass jar, seal it, and leave it on the counter for a week. Shake the jar once a day. If you see condensation forming on the inside of the glass, they are not dry enough. Put them back in the oven or air fryer. If you seal them with moisture inside, they will spoil.
If drying feels like too much of a gamble with your specific humidity levels, you might consider freezing whole chilies versus chopping them first, as freezing is a far more fail-safe method for beginners. However, for the specific texture of flakes and powders, drying is the only path.
Grinding for Maximum Freshness
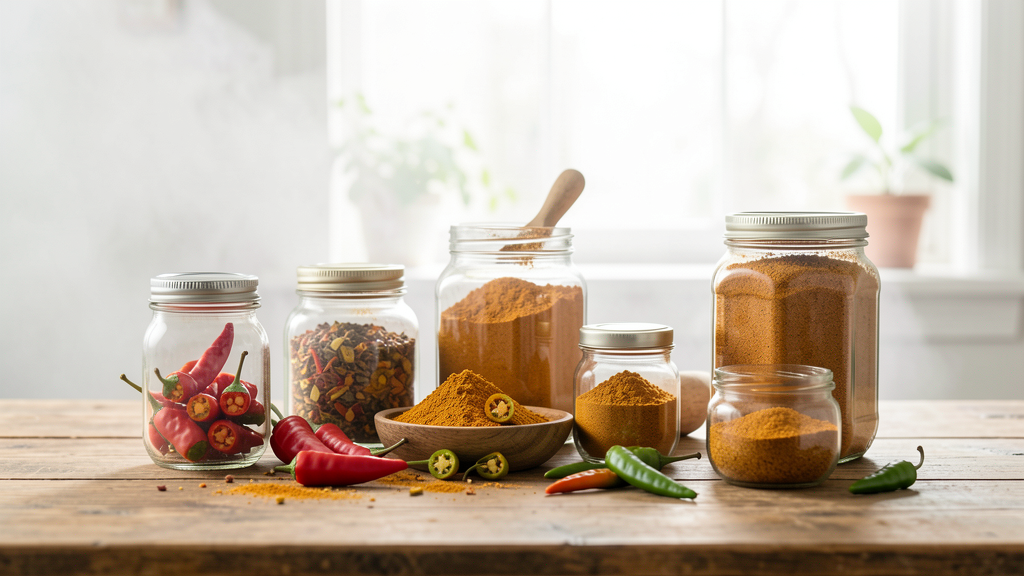
Once your peppers are brittle, the transformation into powder is immediate. Do not grind them until you are ready to use or store them for the long term. A dedicated spice grinder or a high-powered blender works best. Pulse it to avoid creating heat from friction, which can dull the flavor.
Sift the powder through a fine-mesh sieve to remove any large seeds or tough stems if you want a fine texture. Those leftover bits? Toss them into a jar as "pizza flakes." The heat is concentrated in the placenta, so don't discard the seeds entirely if you enjoy the burn.
Store your finished powder in amber glass jars away from direct sunlight. Commercial spices often sit on shelves for years, but your homemade version will lose its potency after about six months. The trade-off for the lack of anti-caking agents (which we avoid) is that the powder might clump slightly if humidity rises. A few grains of raw rice added to the jar can help absorb that excess ambient moisture.
Making your own spice blends connects you to the harvest in a way store-bought jars never can. You control the heat, the freshness, and exactly what goes into your food. That is a level of quality no machine can buy.
Read next
Freezing Whole Chilies vs. Chopping First: Cellular Damage and Long-Term Flavor
Avoiding flavor loss in your harvest depends entirely on how you handle cell structure before the peppers hit the freezer.
By Mariana Souza · 7 min read
Should You Roast Peppers Before Freezing Them for Later Use?
Understanding the structural breakdown of pepper cell walls is key to deciding whether roasting before freezing compromises the texture of your future salsas.
By Mariana Souza · 5 min read