
The Calcium Chloride Method for Crisp Canned Jalapeños
Eliminate mushy texture from your home canning pantry by using a targeted calcium chloride soak that locks in the snap of jalapeño slices.
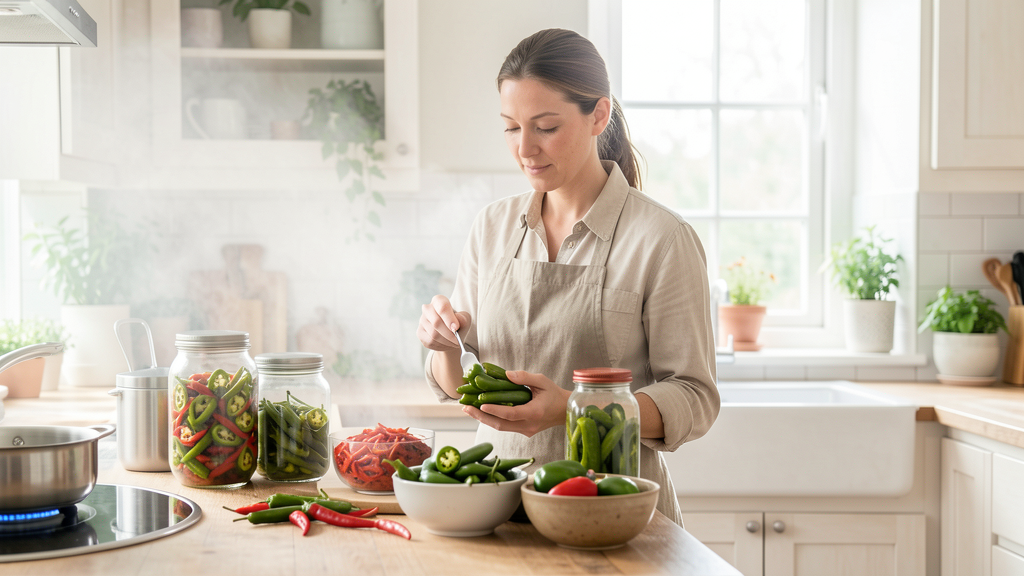
There is a specific disappointment reserved for the home preserver who cracks open a jar of home-canned jalapeños in February, only to be met with a pepper that slides out of the jar like a wet noodle. We chase the snap of the fresh pod, but the heat involved in making a shelf-stable product often destroys the pectin holding the cell walls together.
Over the last decade of testing preservation methods for Hothoppers, I have seen every trick in the book: grape leaves, alum, long ice baths. Most offer marginal improvements at best. However, there is one additive that acts as a cheat code for texture, provided you respect the chemistry involved. That additive is food-grade calcium chloride.
Before we proceed, understand the safety boundary. We are creating a high-acid environment to prevent botulism. You cannot change the vinegar ratio or the processing method. What we can change is the structural integrity of the pepper before it hits the boiling water.
This guide walks you through a canning protocol that integrates a calcium chloride soak to keep your jalapeño slices crisp, safe, and shelf-stable.
Why Heat Destroys Texture
To fix the problem, we have to understand the mechanism of softening. Peppers are plant matter held together by pectin, a starch-like carbohydrate found in cell walls. When you subject these tissues to the 212°F (100°C) environment of a water bath canner for ten minutes or more, that pectin breaks down into a gel, turning a crisp vegetable into soft mush.
Traditional methods, like adding grape leaves (which contain tannins), can help, but they don't stop the thermal degradation of pectin. Calcium chloride works differently. It is a firming agent that cross-links the pectin molecules in the cell walls, essentially reinforcing the structure of the vegetable before it undergoes thermal processing.
It is the same technology used by commercial pickle producers to keep their products crunchy on grocery store shelves. When used in the correct quantity—roughly 1 to 1.5 teaspoons per quart of pickling liquid—it is safe, tasteless, and highly effective. Unlike alum, which can leave a bitter aftertaste and is not recommended by modern USDA guidelines, calcium chloride does not alter the flavor profile of the peppers.
Equipment and Safety Setup
Canning is a precise activity. You cannot treat this as a loose cooking recipe; it is a chemical process requiring specific tools. If you are new to this, I suggest reviewing 3 Ways to Dry Chili Peppers Without a Dehydrator first, as drying is more forgiving of technique errors than canning.
For this batch, aiming for four pint jars (or two quart jars), you will need:
- Fresh Jalapeños: 1.5 pounds (approx. 680g). Choose peppers that are firm, unblemished, and have no signs of rot.
- Calcium Chloride: Look for "Pickle Crisp" or food-grade calcium chloride. Do not use de-icing salts or ice melter from the hardware store.
- Vinegar: 5% acidity white vinegar or apple cider vinegar. This percentage is legally mandated for safety. Do not use rice vinegar or wine vinegar unless you are certain of the acidity level.
- Canning Salt: Pickling salt lacks anti-caking agents that can make the brine cloudy. Table salt works in a pinch, but the aesthetics will suffer.
- Water Bath Canner: A large pot with a rack and a tight-fitting lid.
- Jars and Lids: Pint or quart mason jars with new bands and flats.
Preparation and The Cold Soak
The texture battle is won or lost before the jars ever see the stove. This preparation phase involves slicing and then treating the peppers to firm them up.
- Wash and Trim: Rinse the peppers under cold running water. Slice off the stem end. You can choose to leave the seeds and white membranes (the placenta) in for maximum heat, or remove them for a milder product.
- Uniform Slicing: Slice the peppers into uniform rounds, about 1/4 inch thick. Consistency ensures they all process at the same rate.
- The Firming Soak: Dissolve 1 teaspoon of calcium chloride in a large bowl containing 4 cups of ice water. Submerge the sliced peppers in this solution. Let them soak for 30 to 60 minutes in the refrigerator. This allows the calcium ions to penetrate the cell walls.
- Drain and Rinse: After the soak, drain the peppers and rinse them thoroughly under fresh water. They are now ready for the jars.
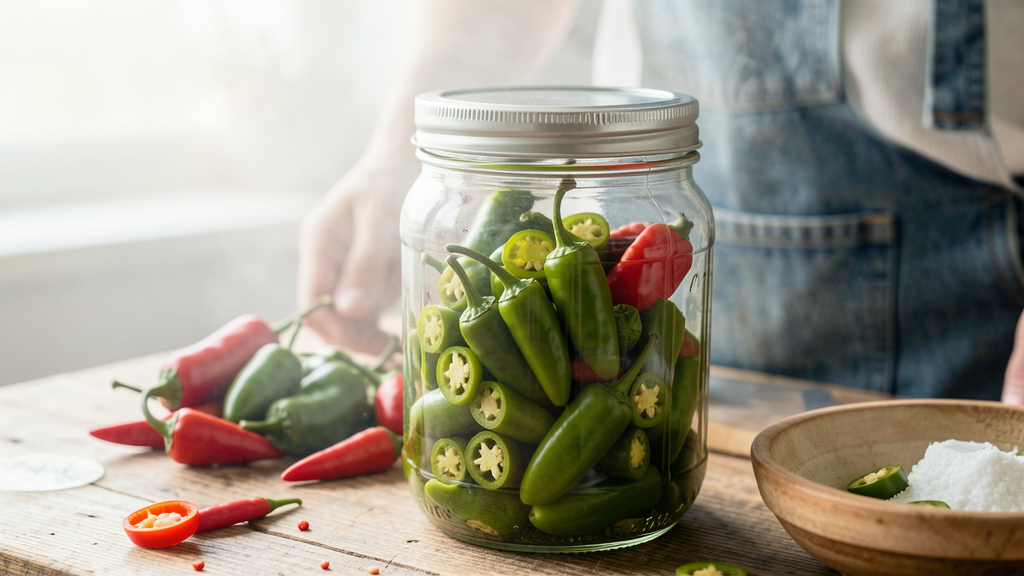
While the peppers soak, prepare your canner. Fill it with water, place the jars inside to heat them (this prevents thermal shock), and bring the water to a simmer. Keep the jars hot until you are ready to fill them.
Mixing and Heating the Brine
The brine is the preservative. We need a ratio that ensures the pH remains well below 4.6, the safety threshold for inhibiting Clostridium botulinum spores.
For a batch yielding four pints, combine the following in a non-reactive saucepan (stainless steel or enamel):
- 2.5 cups of 5% acidity white vinegar
- 2.5 cups of water
- 2 tablespoons canning salt
- 1 tablespoon granulated sugar (optional, cuts the harshness of the vinegar)
Place the saucepan over medium-high heat and bring the mixture to a boil. Stir until the salt and sugar are completely dissolved. Keep the brine hot while you pack the jars. Do not reduce the vinegar amount to "make it healthier." The acidity is the only thing keeping you safe.
Packing and Processing Jars
Now we assemble the product. You must work relatively quickly to ensure everything stays hot.
- Pack the Peppers: Remove one hot jar from the canner. Pack the soaked jalapeño slices into the jar tightly. You want to wedge them in so they don't float up out of the liquid later, but leave 1/2 inch of headspace at the top.
- Add Aromatics (Optional): If you like, add a clove of smashed garlic or a sprig of fresh oregano to each jar. These do not affect the safety pH significantly but add flavor.
- Ladle Brine: Pour the hot vinegar brine over the peppers, maintaining that critical 1/2 inch headspace. The liquid should cover the peppers completely.
- Remove Bubbles: Run a non-metallic spatula or bubble remover tool around the inside edge of the jar. This releases trapped air pockets which can interfere with the seal.
- Clean and Seal: Wipe the rim of the jar with a clean, damp cloth to remove any salt or pepper residue. Place a lid on top and screw the band on until it is "fingertip tight"—you don't need to torque it down with all your strength.
- Process: Return the jars to the canner, ensuring they are covered by at least one inch of water. Bring the water to a full rolling boil. Once boiling, process pint jars for 10 minutes (15 minutes if you are above 1,000 feet in altitude).
- Cool Down: Turn off the heat, remove the lid, and let the jars sit in the water for 5 minutes. Then, transfer them to a towel-lined counter. Do not touch the lids. Let them cool undisturbed for 12 to 24 hours.
The Final Check and Storage
After 24 hours, check the seals. The center of the lid should be concave (pulled down) and should not flex when you press it with a finger. If a jar failed to seal, you can refrigerate it immediately and eat it within three weeks, or reprocess it with a new lid.
Remove the bands for storage. This prevents the bands from rusting onto the jars and also allows you to spot a broken seal more easily later. Label the jars with the date and contents.
Properly processed and sealed jars will last for 12 to 18 months in a cool, dark pantry. However, the texture will be best within the first year.
Serving Notes Beyond the Burger
Now that you have achieved the impossible—a crunchy canned pepper—consider how to use them. The calcium chloride treatment gives them a structural integrity that holds up to heavy cooking.
These slices are robust enough to be added to a pot of chili during the last 15 minutes of simmering without disintegrating. You can also dice them and incorporate them into a sharp cornbread batter, where they will retain their bite rather than becoming mushy pockets of flavor.
If you find yourself with an overflow harvest that you don't want to can, you might compare this method to freezing. While freezing is faster, the texture changes are different; the cells rupture upon thawing. If you are deciding between methods, read our comparison on Freezing Whole Chilies vs. Chopping First: Which Preserves Flavor Longer? to see if your current batch suits the freezer better.
Ultimately, the goal here is to elevate the humble jalapeño from a garnish to a featured texture in your culinary repertoire. With the calcium chloride soak, you control the crunch, ensuring that every jar opened in the dead of winter tastes as fresh as the day it was harvested.
Read next
Freezing Whole Chilies vs. Chopping First: Cellular Damage and Long-Term Flavor
Avoiding flavor loss in your harvest depends entirely on how you handle cell structure before the peppers hit the freezer.
By Mariana Souza · 7 min read
Crafting Chili Powder Without a Machine: 3 Reliable Drying Methods
Transform your fresh pepper harvest into shelf-stable spices using your oven, air fryer, or simply the air in your kitchen, with zero specialized equipment required.
By Mariana Souza · 6 min read