
Why Do My Roasted Peppers Turn Bitter in the Oven?
Stop ruining your soups with acrid, ash-tasting peppers by understanding the specific carbonization point of the skin versus the flesh.

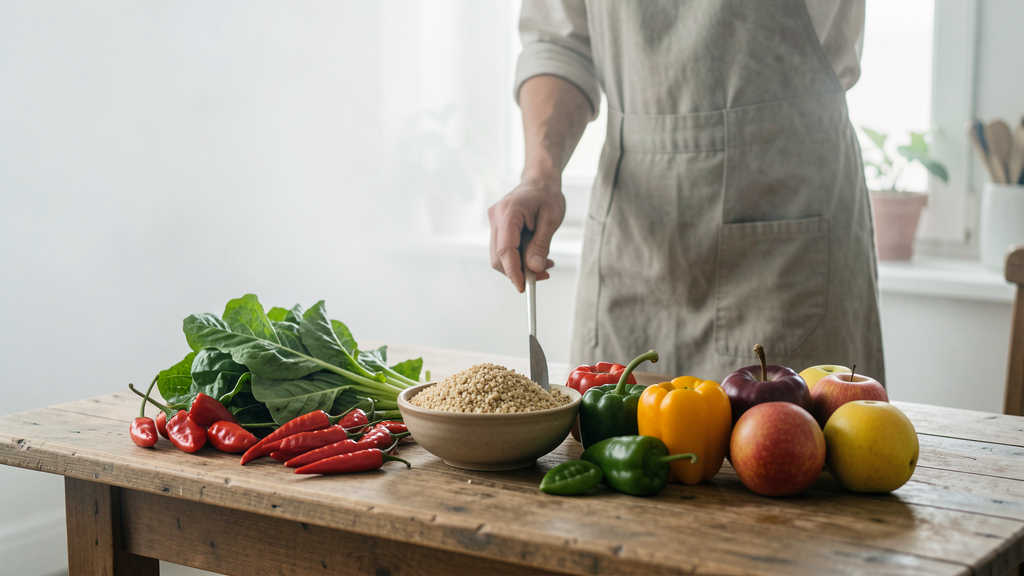
There is a specific disappointment that comes from lifting a lid off a simmering pot of roasted pepper soup, anticipating a velvety, sweet heat, and instead being hit with a wave of acrid, mouth-drying bitterness. It tastes like ash. It coats the tongue and ruins the broth. As a Culinary Director, I see this constantly. You followed the recipe. You roasted them until the skins were black. You peeled them. So why does it taste like a charcoal briquette?
The issue lies in a misunderstanding of the "char." Most cooks treat roasting peppers as a binary state: raw or burnt. They think the blacker the skin, the easier it peels, and therefore, the better the result. This is a fallacy that ruins countless spicy-comfort-food dishes. The bitterness is not a flavor note; it is a chemical failure. You have crossed the carbonization point of the pepper skin without allowing the sugars in the flesh to catch up.
The Chemistry of the Blackened Skin
To fix the bitterness, we have to look at the anatomy of the pepper. The skin and the flesh are two different structural entities with different tolerances for heat. The skin is composed of cellulose and cutin, designed to protect the fruit. The flesh is water, sugars, and pectin. When you apply high heat, the moisture in the flesh turns to steam, softening the cell walls. Simultaneously, the sugars undergo the Maillard reaction and caramelization, developing those deep, savory sweet notes we chase.
However, the skin has very little sugar and moisture. It is essentially a thin sheet of organic matter. When exposed to direct, high-heat radiation—like the top heating element in your oven—the skin hits its carbonization point rapidly, around 351°F (175°C). At this stage, the cellulose breaks down into carbon and volatile phenols. These phenols are bitter. If you char the skin completely before the flesh has had time to soften and sweeten, you infuse the flesh with that bitter smoke. You are literally tasting burnt plant matter. The goal is to blister the skin just enough to separate it from the flesh without incinerating it.
Selecting Your Pepper: The Poblano Profile
Before you even turn on the oven, you must choose a vessel capable of withstanding this thermal stress. For a robust soup base, I rarely recommend standard Bell peppers; they have high water content and thin walls that collapse into mush. Instead, look to the Poblano.
Origin Story: Hailing from the state of Puebla, Mexico, the Poblano is the workhorse of authentic Mexican cuisine. It is the fresh form of the dried Ancho. Unlike the watery Bell, the Poblano has a thick, meaty wall that stands up to high heat, retaining a firm texture even after roasting. It possesses a mild, earthy heat—usually 1,000 to 1,500 on the Scoville scale—that creates a perfect foundation for a spicy comfort meal without overpowering the palate.
Local Substitutes: If you cannot source authentic Poblano peppers, do not default to green Bell peppers. Instead, seek out Cubanelle peppers (Italian frying peppers). They have thinner skins than Poblanos but a superior flavor profile to Bells. Alternatively, Anaheim peppers offer a similar heat profile and wall thickness, though they are slightly less grassy in flavor than the Poblano.
Step One: The Dry Surface Protocol
Moisture is the enemy of the roast. If there is water on the skin of the pepper, the initial phase of heating will involve steaming the skin rather than searing it. Steaming creates a tough, leathery skin that is hard to remove and necessitates longer cooking time to blister, which inevitably leads to over-roasting the flesh.
Take your Poblanos and wash them in cold water. Dry them vigorously with a clean kitchen towel. I mean vigorously. You want the skin to be bone-dry. Do not oil them yet. Oil acts as a conductor and can cause hot spots that burn the skin instantly. For this method, we rely on the dry heat of the oven element. Place the peppers on a heavy-duty half-sheet pan. Do not crowd them; if they are touching, they will steam in their own moisture. They need to sit alone, exposed to the air.
Step Two: Positioning for Indirect Carbonization
Most people set their oven to 400°F or 450°F and roast. This is too slow. It cooks the pepper rather than roasting it. We want a fast, aggressive heat that targets the skin but leaves the flesh raw enough to retain structure.
Set your oven rack to the uppermost position, about 4 to 5 inches from the broiler element. Turn the broiler to "High." Let it preheat for at least 10 minutes. You want that element glowing angry red. This intense proximity allows the skin to blister quickly—the air pockets forming between the skin and flesh lift the skin away, insulating the meat from the direct heat. This is the sweet spot: the skin blisters and chars, but the flesh only warms up. It minimizes the time those bitter phenols have to form and migrate.
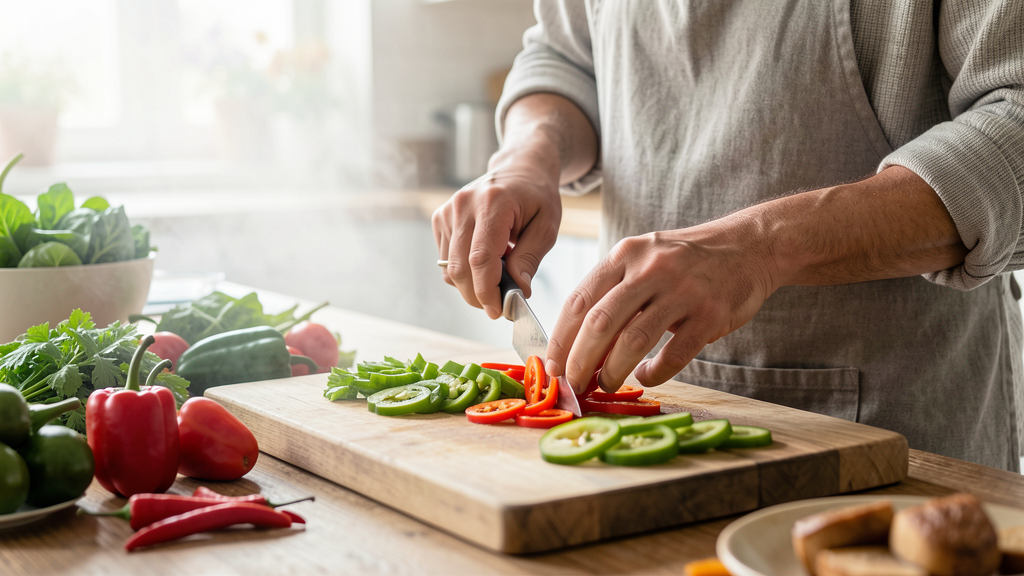
Step Three: The 12-Minute Roast Window
Place the sheet pan under the broiler. Do not walk away. Do not check your phone. This is a 12-minute window that requires active management.
After 4 to 5 minutes, you will hear popping sounds. This is the skin separating from the flesh. Open the oven. Using tongs, rotate each pepper 180 degrees. You want a blistering char on the top side, but you do not want it to turn completely ash-gray. You are looking for deep purple and black blisters, not a uniform coating of carbon dust.
Close the door and roast for another 4 to 5 minutes. Check again. If the sides are still green, use the tongs to flip the peppers onto their sides. The total time should not exceed 12 to 14 minutes. If you go beyond this, the flesh collapses, the water evaporates, and the sugars concentrate and then burn. That is when your soup turns bitter.
Step Four: The Sweat-Box Technique
Once the peppers are blistered on all sides, remove them from the oven immediately. Transfer them to a heat-safe bowl. This is the critical step that many skip: cover the bowl tightly with plastic wrap or a lid.
We are not "steaming" them to cook them; we are using the residual heat trapped inside the pepper's own flesh to loosen the skin's bond. This creates a high-humidity micro-environment. The moisture between the skin and flesh expands, lifting the charred skin away from the sweet meat without introducing any additional bitter compounds. Let them sit in this steam bath for exactly 15 minutes. No less, or the skin won't peel; no more, or they begin to cook in their own juices and turn soggy.
Step Five: Surgical Skin Removal
After 15 minutes, uncover the bowl. They will be soft and collapsed. The peppers have cooled enough to handle, but are still warm—warm peppers peel much easier than cold ones.
Do not rinse the peppers under water. I repeat: do not rinse them. Running water washes away the volatile oils and the concentrated roasted sugars that carry the flavor. It also dilutes the pepper. Instead, pull the stem cap off. Tear the pepper open. Scrape the seeds and the white ribs out with a paring knife. The ribs contain the majority of the capsaicin; removing them allows you to control the heat level. If you want a 5 Mild Chilies That Add Body Without Burning Your Throat-style soup, be aggressive in removing the ribs.
Lay the skinless flesh flat on your cutting board. Use the edge of your knife or your thumb to gently lift the corner of the charred skin. Peel it away in strips. You will notice that some char residue remains on the flesh. Leave it. That thin layer of black char contains the smoky complexity you want. The thick, bitter sheet of skin goes in the trash. The charred residue stays on the pepper.
Step Six: Balancing the Flavor Profile
You now have perfectly roasted, sweet, slightly smoky pepper flesh. But if you made a mistake and a hint of bitterness remains, or if you simply want to elevate the final soup, you need to balance the acidity and fat.
Bitterness is alkaline on the palate. To neutralize it, we use acid. A splash of sherry vinegar or a squeeze of fresh lime juice right at the end of cooking cuts through that ashy taste. However, bitterness is also fat-soluble. This is where a high-quality fat comes in.
Finish your soup with a drizzle of a fat that carries flavor. I often recommend using a chili-infused olive oil made with a mild, fruity base like Arbequina. The oil coats the tongue, masking the harshness of the phenols and carrying the sweetness of the roasted peppers. Do not add the oil at the start of cooking; add it as a garnish. This preserves the fresh, volatile compounds in the oil and ensures the mouthfeel is luxurious rather than greasy.
The difference between a bitter, burnt pot of pepper soup and a masterpiece of spicy comfort is not the ingredients; it is the respect for the chemical limit of the pepper skin. Stop incinerating your vegetables. Watch the clock, peel by hand, and let the natural sweetness shine through.
Read next
Which Mild Peppers Add the Most Body Without the Heat?
Discover five specific thick-fleshed pepper varieties that deliver substantial texture and culinary volume to your dishes without scorching your palate.
By Mariana Souza · 6 min read
The 12-Minute Chili Oil Trick That Saved My Tuesday Dinner
A gentle-heat method to extract complex chili flavors in minutes, transforming a bland weeknight roast into a restaurant-grade dish without the wait of cold infusion.
By Lucas Oliveira · 8 min read