
Can I Really Ferment Leftover Thai Chilies in a Simple Mason Jar?
Turn a surplus of spicy heat into a probiotic condiment using nothing more than a standard glass jar and salt.
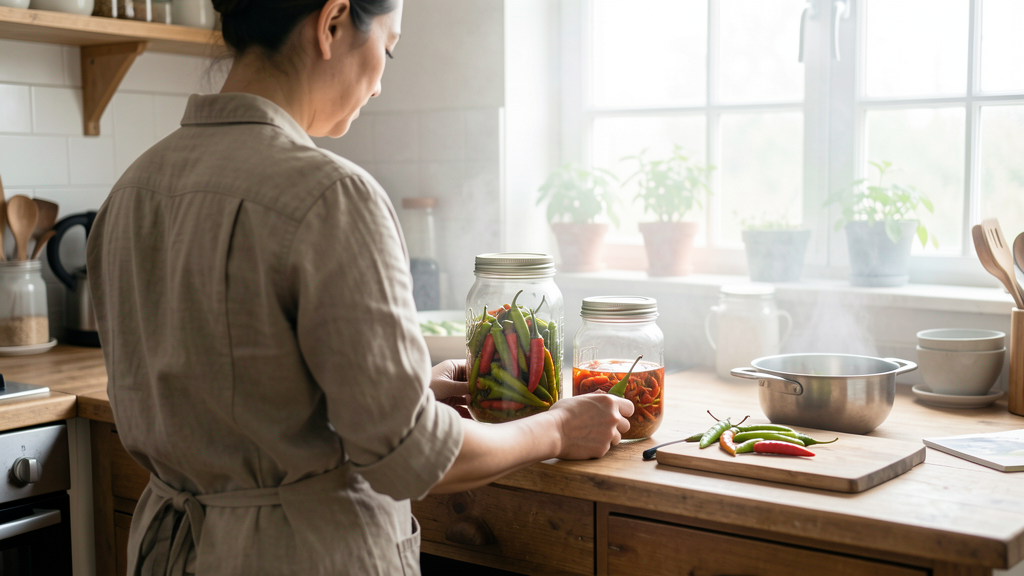
I stared at the pile of fiery red Bird’s Eye chilies on my cutting board on March 14th, 2026. I had aggressively overestimated the heat tolerance of my dinner guests while prepping for a Thai Green Curry. With nearly 75 grams of these potent pods leftover, the options felt limited. Drying them seemed tedious, and infusing oil with fresh peppers carries botulism risks that make me nervous unless the acidity is strictly managed. I wanted a method that was safe, required minimal equipment, and would actually enhance the flavor profile rather than just preserve it.
The solution was sitting in my pantry: a standard wide-mouth Mason jar. While I usually advocate for airlocks when making large batches—like the detailed process I outlined in Making Your First Fermented Pepper Mash—for this small quantity, a simple jar was not only sufficient but arguably better. It allowed me to manage a tiny ecosystem of bacteria without dragging out the crock.
Why The Mason Jar Works Better for Small Quantities
The primary hurdle with fermenting small amounts of peppers is surface area. In a large fermentation vessel, a small batch of produce creates too much headroom, increasing the risk of mold exposure. A pint-sized Mason jar solves this by snugly accommodating the volume, minimizing the air pocket above the brine.
However, the trade-off is gas management. Lactobacillus bacteria produce carbon dioxide as they consume sugars. Without a dedicated airlock to vent this gas, pressure builds up inside the jar. For a small batch of 75 grams of chilies, this pressure is manageable if you are diligent. It requires a "burping" routine—opening the lid briefly once a day to release the gas—which is significantly less hassle than sanitizing a large airlock assembly for a cup of peppers.
The Critical Safety of the Brine Ratio
You cannot rely on intuition here. The safety of countertop fermentation hinges on creating an environment where pathogenic bacteria cannot survive, but Lactobacillus can thrive. For Thai chilies, which have thin walls and high water content, I stick to a 3.5% salinity ratio. This is slightly higher than the standard 2-2.5% used for cucumbers or cabbage because peppers can break down quickly, and the extra salt acts as a firm insurance policy against soft rot and unwanted microbial growth.
To achieve this, weigh your chilies and water together. If your chilies and water total 300 grams, you need exactly 10.5 grams of non-iodized salt. Do not use table salt with anti-caking agents; it will cloud the brine and inhibit fermentation. I prefer Diamond Crystal kosher salt for its purity and solubility. Dissolve the salt completely in the water before pouring it over the peppers to ensure the concentration is uniform from the start. This specific saline concentration creates a selective barrier that effectively neutralizes threats like Clostridium botulinum while allowing the fermentation to proceed safely at room temperature.
Preparing the Pods for Maximum Flavor Extraction
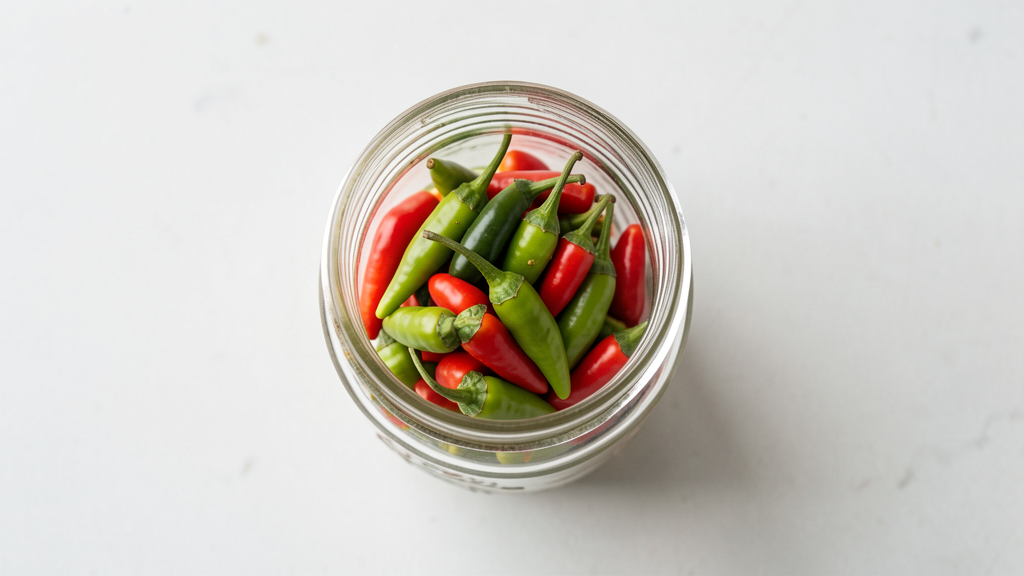
I decided to slice the chilies into rough rounds. Leaving them whole would have prolonged the fermentation time significantly, as the brine would need to penetrate the thick skin of each pod. By slicing them, I increased the surface area, allowing the bacteria immediate access to the sugars within the pepper flesh.
I packed the slices tightly into the jar, leaving about an inch of headspace at the top. Then, I poured the 3.5% brine over them, ensuring the liquid level rose at least an inch above the solids. This is the most critical rule in fermentation: anything exposed to air will mold. The peppers must remain submerged. To keep them down, I took a small plastic zip-lock bag, filled it with some of the leftover brine, and zipped it shut. I placed this makeshift weight on top of the peppers. It acts as a puck, pushing the floating chili slices under the liquid line without displacing too much brine.
Managing the Fermentation Timeline
I left the jar on the corner of my counter, away from direct sunlight, where the ambient temperature hovered around 70°F (21°C). For the first three days, nothing dramatic happened. The chilies maintained their bright red hue, and the brine was clear.
On day four, the chemistry shifted. The brine began to look cloudy—a sign that lactic acid bacteria were multiplying. The smell changed from raw, vegetative pepper to something sharper, more acidic. This is the "active phase." During this time, I made sure to "burp" the jar every morning. I would open the lid, listen for the hiss of escaping carbon dioxide, and use a clean spoon to push down any slices that had floated to the surface.
By day ten, the vibrant red of the Bird's Eye chilies had dulled to a slightly pinkish, olive tone. This color shift indicates that the chlorophyll and anthocyanins are breaking down, which is exactly what should happen. The smell was powerfully tangy, reminiscent of vinegar but with a deeper, earthy complexity that only fermentation provides. At this stage, the pH has dropped significantly—likely below 4.0—which is the safe zone for long-term storage.
From Counter to Fridge: The Final Transformation
Once the bubbles had ceased rising and the aroma stabilized, I removed the plastic weight, screwed the lid on tight, and moved the jar to the refrigerator. The cold temperature near-freezes the bacterial activity, preserving the flavor exactly as it is.
The result was roughly a cup of intensely flavorful fermented peppers. They retained their heat, but the sharp, immediate sting of raw chilies was tempered by a sour, savory undertone. I have been adding them to rice bowls, blending them into salad dressings, and even mincing them into mayonnaise for a spicy kick.
The real victory here wasn't just saving $12 worth of produce from the compost bin. It was realizing that substituting serrano peppers or buying in bulk is no longer a stressor. If I buy too many, I know I have a reliable, low-tech method to transform them into an ingredient that is often superior to what I can buy at the store.
Fermenting in a Mason jar on the countertop is an exercise in managing microscopic variables. It forces you to pay attention to the smell, the look of the bubbles, and the color of the vegetable matter. While larger setups offer more stability, this small-batch approach connects you directly to the process. You learn that fermentation is not a recipe to be followed rigidly, but a biological reaction to be guided. When you finally open that cooled jar and taste the complex, sour heat of your effort, you realize that the best pepper condiment in your kitchen was one you grew on your counter, in a jar, with nothing but salt and patience.
Read next
Making Your First Fermented Pepper Mash: The 3-Step Air-Lock Method
A streamlined guide to fermenting chili peppers at home using a strict 2.5% salt ratio and an air-lock system to guarantee mold-free results.
By Camila Rocha · 7 min read
The Serrano Switch: Will Mexican Heat Ruin a Thai Stir-Fry?
Substituting Mexican serranos for Thai bird's eye chilies is feasible for heat, but the swap alters the dish's aromatic balance by introducing a grassy, vegetal flavor that clashes with authentic herbs.
By Mariana Souza · 5 min read