
Making Your First Fermented Pepper Mash: The 3-Step Air-Lock Method
A streamlined guide to fermenting chili peppers at home using a strict 2.5% salt ratio and an air-lock system to guarantee mold-free results.
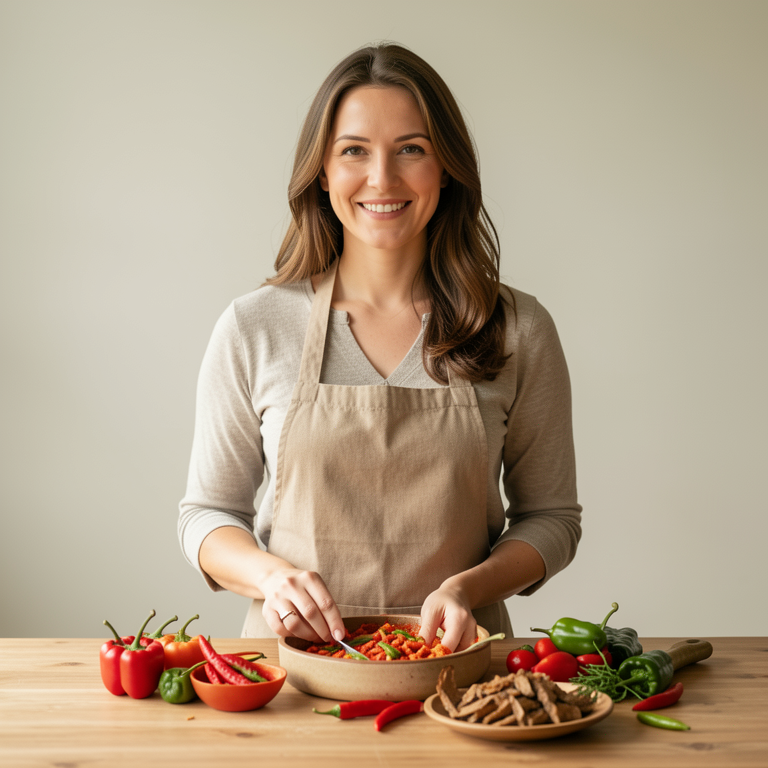
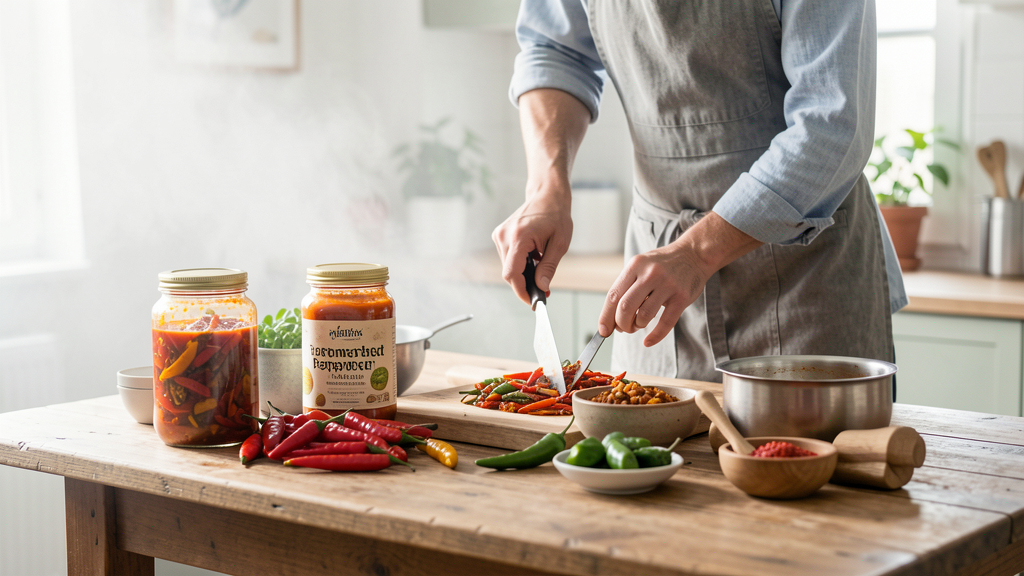
I stood in my kitchen on a rainy Sunday in late March 2026, staring at three pounds of red Cayenne and Fresno peppers I had impulsively bought from the farmers market. My goal was simple: create a mash that mimicked the sharp, tangy profile of a premium Tabasco-style sauce, but without the three-year aging wait in white oak barrels. My previous attempts at fermentation had been disasters. In 2024, I lost a beautiful batch of Habaneros to kahm yeast, and before that, a jar of Serranos turned into a moldy science experiment. I was tired of wasting expensive produce and intimidated by the "science" that many fermentation blogs made sound like rocket surgery.
This time, I stripped the process down to its absolute mechanical core. I ignored the fancy pH meters and the specialized ceramic crocks. I focused entirely on two variables: the salt ratio and the seal. The result was a vibrant, bubbling mash that smelled of earth and heat, ready to be aged into a sauce. I want to share that exact workflow because the barrier to entry for fermentation is usually just unnecessary complexity.
Selecting the Right Pepper for the Fat Profile
Before you chop a single stem, you need to understand the chemistry of the vegetable you are holding. For a Tabasco-style mash, we want a thinner-walled pepper. I chose a mix of 60% Cayenne and 40% red Fresno. This choice wasn't arbitrary; it was dictated by the final application of the sauce.
Fermented mashes are unique because they develop a lactic acidity that cuts through rich foods. If you use a very thick-fleshed pepper like a Habanero or Scotch Bonnet, you introduce high amounts of pectin and dense cellular matter. These thicker walls retain more water and capsaicin oils. When fermented, they create a heavy, almost jammy texture that pairs beautifully with high-fat dishes like pork belly or cheesy grits because the rich body stands up to the grease.
However, for a sauce intended to act like a traditional hot sauce—something to splash on eggs or tacos—that heavy body is a flaw. You want a thinner mash that allows the bright acidity to shine without coating the tongue in vegetable matter. The thinner walls of the Cayenne and Fresno break down more readily, releasing their moisture into the brine and creating a lighter, more pourable consistency. If you are sensitive to heat but want that body, consider reading up on 5 Mild Chilies That Add Body Without Burning Your Throat before you mix your varieties. For this batch, I stuck to the medium-heat thin-skinned varieties to ensure the final mash would be sharp and elegant rather than thick and syrupy.
The 2.5% Salt Ratio That Eliminates the Guesswork
The fear of mold is what stops most people from fermenting. I ruined that 2024 Habanero batch because I eyeballed the salt. I used a "pinch of this and a pinch of that," resulting in a brine that wasn't salty enough to protect the peppers from opportunistic bacteria. In the world of fermentation, precision is your insurance policy.
For this project, I switched to weighing everything. I used a digital kitchen scale and set the target for a 2.5% salinity. This is the sweet spot for vegetable ferments. It is salty enough to prevent the growth of spoilage bacteria and mold, but low enough to allow the lactobacillus bacteria—naturally present on the pepper skins—to thrive and produce acid.
Here is the breakdown of the batch I made on that Sunday:
- 900 grams of mixed red Cayenne and Fresno peppers (stems removed, kept whole)
- 22.5 grams of high-quality kosher salt (900 x 0.025)
I pulsed the peppers and the salt in a food processor until the texture resembled a coarse applesauce. You do not need to add water at this stage. The salt draws the water out of the pepper cells through osmosis, creating its own brine. If you find your peppers are particularly dry and the mash isn't covered by liquid after an hour, you can top it with a 2.5% salt water solution, but with these fresh peppers, that was unnecessary.
The Importance of Submersion
Getting the mash into the jar is easy; keeping it under the brine is where the discipline comes in. Any piece of pepper floating on the surface is exposed to oxygen. Oxygen is the enemy of lactic acid fermentation; it promotes mold and yeast formation.
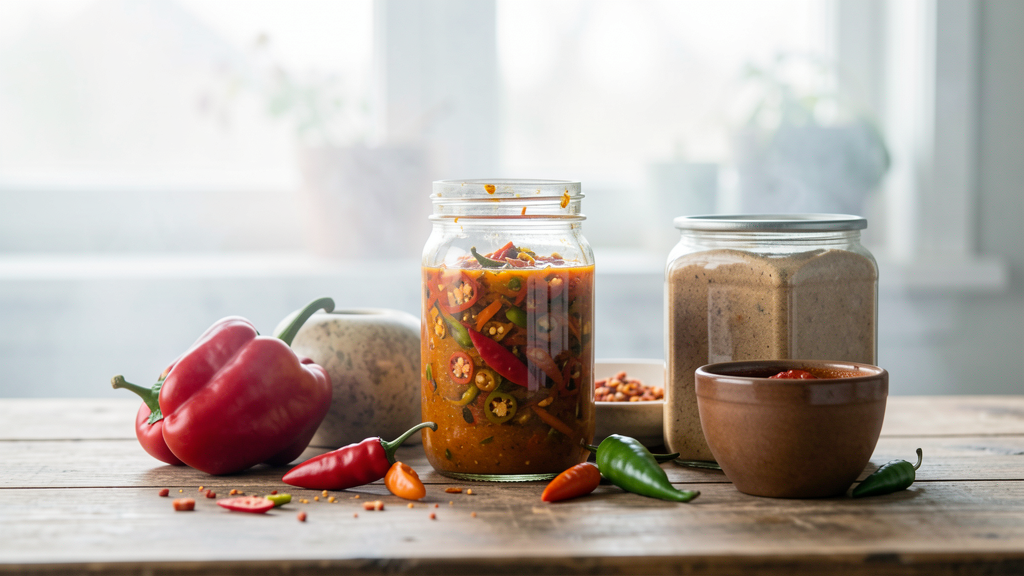
I packed the mash into a sanitized 1-liter wide-mouth Mason jar, pressing it down vigorously with my fist to release air pockets. I needed about an inch of headspace at the top to allow for bubbling. To keep the mash submerged, I did not buy a $20 glass fermentation weight. Instead, I used a clean Ziploc bag. I pushed it into the mouth of the jar, poured a little of the 2.5% salt water into the bag to weigh it down, and sealed it. This creates a water-filled pillow that presses against the sides of the jar, acting as a makeshift weight and an additional air barrier.
This is the step that requires the most attention. You cannot be shy about pressing the mash down. If you see pepper bits bobbing on the surface, push them back under the brine. It is a tactile process. You need to feel the resistance of the mash.
Managing the Air-Lock for a Gas-Free Environment
The final piece of the puzzle is the air-lock. As the lactobacillus eats the sugars in the peppers, it produces carbon dioxide. This gas creates pressure. If you screw a standard lid on tight, the jar can crack or even explode. If you leave the lid loose, oxygen gets in, and you risk mold.
An air-lock is a one-way valve. It lets the CO2 escape without letting fresh oxygen in. I bought a simple 3-piece air-lock and a rubber bung for less than $8 at a local homebrew shop. I filled the air-lock with water—vodka works too, as it inhibits mold growth inside the lock itself—and snapped the cap on.
For the first week, I kept the jar in a dark corner of my pantry where the temperature stayed around 68°F (20°C). Within 48 hours, I heard the faint "glug-glug" of bubbles passing through the air-lock. It is a satisfying sound; it means the bacteria are doing their job.
I resisted the urge to open the jar and smell it every day. Every time you open it, you disturb the anaerobic environment. I checked the water level in the air-lock daily, topping it up if it evaporated, but I did not touch the mash itself. I know from experience that Why Do My Roasted Peppers Turn Bitter in the Oven? is a common question, but fermentation requires us to avoid the Maillard reaction entirely. We need the raw sugars for the bacteria to feed on, so we do not roast the peppers first. Keeping them raw ensures the ferment remains sweet and tart rather than smoky and savory.
The Transformation After Three Weeks
After 21 days, the bubbles had slowed down significantly. The mash had changed from a bright, fresh red to a deeper, ochre hue. When I finally opened the jar to taste it, the smell was powerful—a sharp, funky acidity that made my eyes water, but underneath that was the sweet, floral aroma of the peppers.
The flavor was unrecognizable from the raw peppers I had chopped three weeks prior. The heat had mellowed and rounded out, integrating fully with the salt and acid. It tasted alive.
At this stage, I could have blended it with vinegar to make a finished sauce, but for a Tabasco-style result, I moved the mash to the fridge. The cold slows the fermentation to a crawl. I plan to let it age in the refrigerator for another month to let the flavors marry.
Fermentation is not magic; it is controlled biology. By fixing the salt ratio at 2.5% and ensuring no oxygen enters the vessel via an air-lock, you remove the variables that cause failure. You eliminate the mold risk and the intimidation factor. You are left with a complex, shelf-stable ingredient that transforms simple dishes into something vibrant and spicy.
Once you master the mash, the possibilities open up. You can blend it into mayonnaise, stir it into soups, or use it as a marinade base. If you want to experiment with other preservation methods that don't require weeks of patience, you might try How to Infuse Olive Oil with Chili Flakes in Under 15 Minutes. But for depth of flavor that nothing else can match, the fermented mash is the gold standard. It just requires a little salt, a little water, and the patience to let nature do the work.
Read next
Why Do My Roasted Peppers Turn Bitter in the Oven?
Stop ruining your soups with acrid, ash-tasting peppers by understanding the specific carbonization point of the skin versus the flesh.
By Lucas Oliveira · 7 min read

The 12-Minute Chili Oil Trick That Saved My Tuesday Dinner
A gentle-heat method to extract complex chili flavors in minutes, transforming a bland weeknight roast into a restaurant-grade dish without the wait of cold infusion.
By Lucas Oliveira · 8 min read